One of the best decisions we made at Coderockr was to adopt the "API First" approach for all the projects we started since 2010. However, in recent months, we recognized a need to improve the process of defining and documenting APIs.
We were already using other approaches , but most of them involved documenting the API within the code itself, using annotations. This approach works, but it has some issues, especially when documentation needs to be altered by someone in business. Additionally, generating mocks and tests from these annotations is a complex challenge.
With this in mind, we conducted some research and arrived at two alternatives: Swagger and API Blueprint .. Both are API documentation standards and have their advantages and disadvantages:
Swagger : It is the market standard and has been adopted by several companies like Amazon. To describe the API, it is necessary to create JSON files, which greatly facilitates the process for programmers but is a bit complex for non-technical individuals to visualize and modify the content. There is a series of tools that can help with this process, but it has become a minor barrier for us. (Well, at least it's not YML... Did I mention that I hate YML?)
API Blueprint : This is a more recent specification created by a company called Apiary , which was acquired by Oracle. The major advantage of API Blueprint is that it is written in Markdown, making it much easier to edit the documents, even for those who are not familiar with coding. Additionally, there are several tools available that allow the generation of documents in the Swagger format, mock servers, and tests.
We opted for API Blueprint because of its ease of use and the agility it brought us. I will demonstrate with a small example.
The definition is written in a file in Markdown format, which can be named “api.md” or “api.apib.” Both work, but if we use the ".apib" extension, we can take advantage of plugins for editors like Sublime Text that assist in writing. The plugins can be found on the official specification website.
1
2
3
4
5
6
7
8
9
10
11
12
13
14
15
16
17
18
19
20
21
22
23
24
25
26
27
28
29
30
31
32
33
34
35
36
37
38
39
40
41
42
43
44
45
46
47
48
49
50
51
52
53
54
55
56
57
58
59
60
61
62
63
64
65
66
67
68
69
70
71
72
73
74
75
76
77
78
79
80
81
82
83
84
85
86
87
88
89
90
91
92
93
94
95
96
97
98
99
100
101
102
103
104
105
106
107
108
109
110
111
112
113
114
115
116
117
On the specification website, you can see the details, but basically, what we do is define the URLs, the format of requests and responses. We can define simple and complex data structures and use them to describe what the API expects as input and what it should generate as output. The document is relatively simple to understand and modify, which was one of the key points in our choice. Even so, we can enhance the presentation.
Generating documentation
Among the tools available on the official website, aglio is one of the most interesting for generating an HTML presentation of our definition. It can be installed via:
1
To generate the documentation, we can use the command:
1
On the tool's website, you can see all the options for theme and presentation customization. Another useful command is:
1
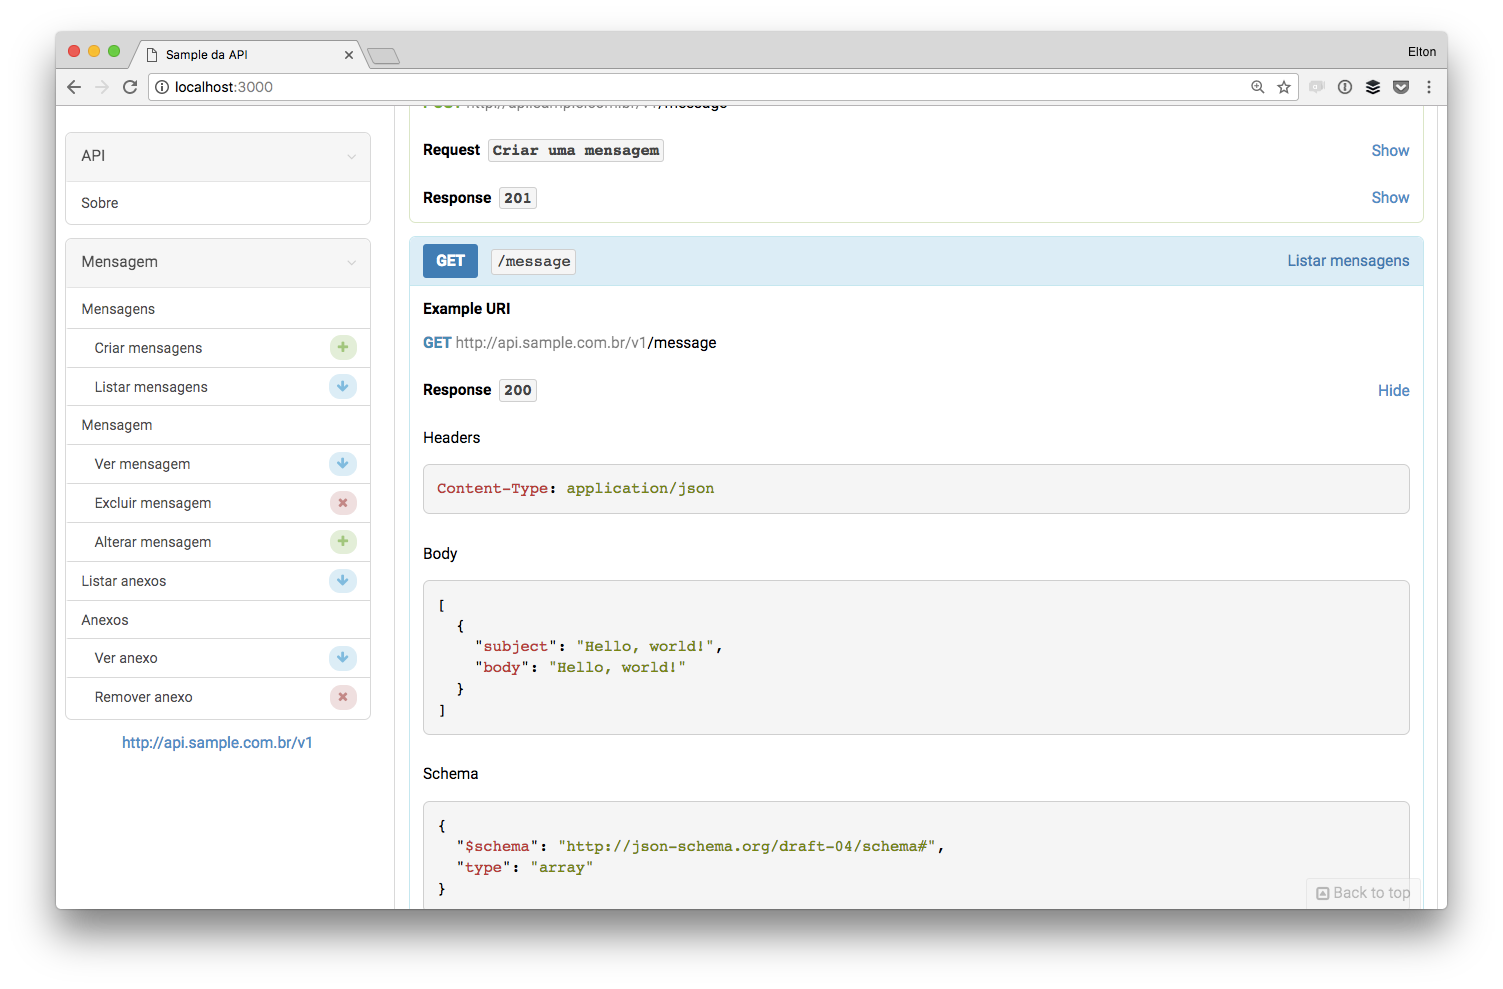
It generates a local server on port 3000, which monitors changes in the ".apib" file and automatically updates the documentation page. This greatly facilitates the maintenance of the document. Here's an example of the generated documentation.
Documentation is very helpful in the development process for API clients, but we can go further.
Generating a mock server
With the API defined, front-end teams (web, mobile, etc.) and back-end teams (who will develop the API) can work in parallel. To make this even easier, we can create a "mock server" that generates fake data based on the API definition. This way, the front-end team can work without having to wait for the back-end team to finish the implementation. For this, we will use another tool, drakov .
To install the tool, simply run:
--- shell
npm install -g drakov
1
--- shell
drakov -f api.apib -p 4000
1
2
3
4
5
--- shell
npm install -g dredd
1
--- shell
dredd api.apib http://localhost:4000
